
Last updated October 16, 2026
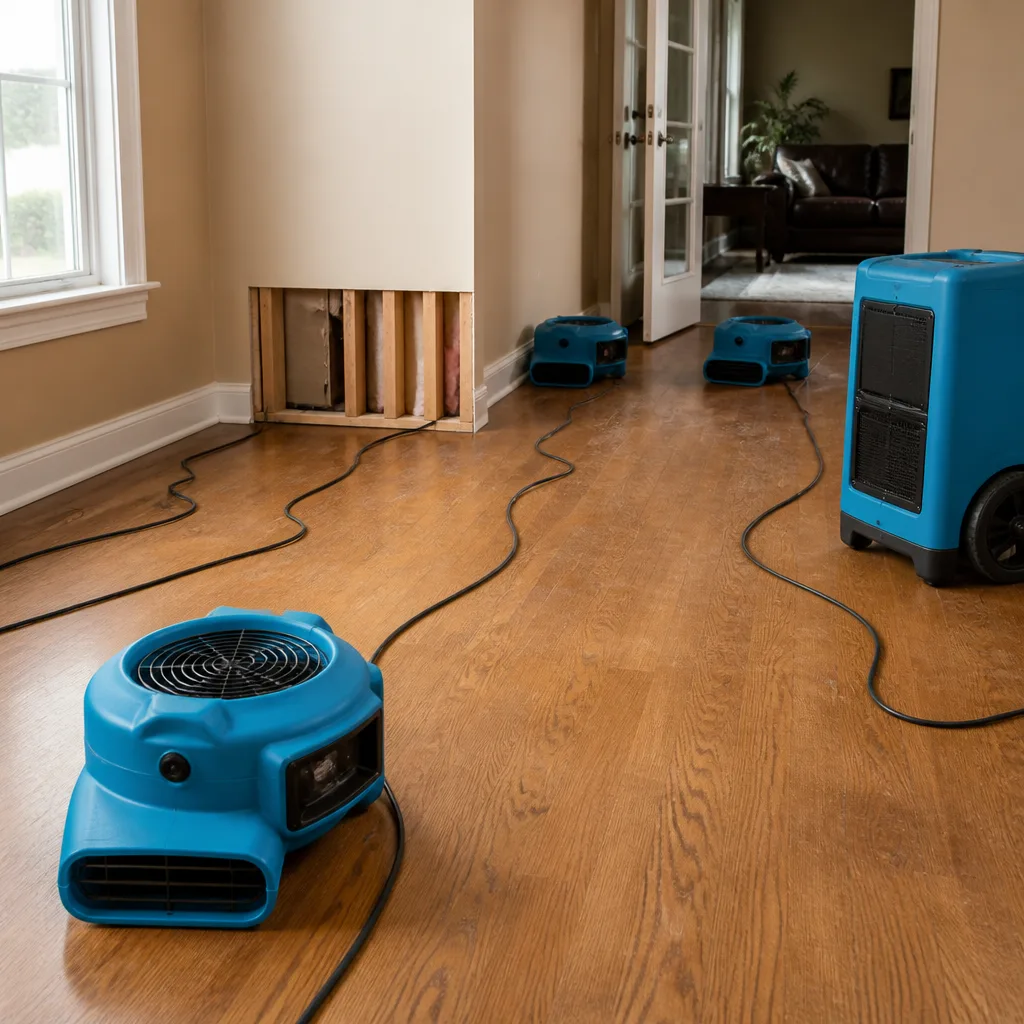 Water damage drying
 Fire & smoke cleanup
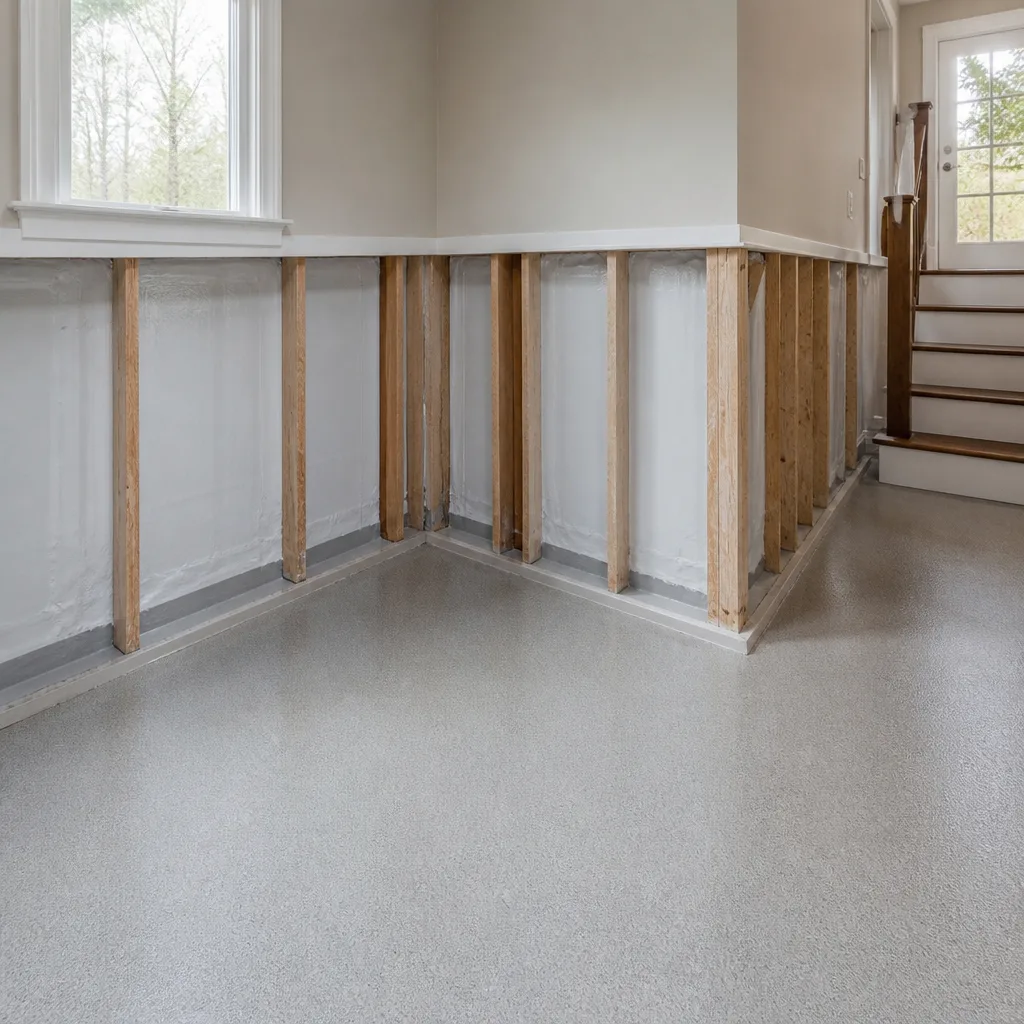 Mold remediation
 Storm response
 Sewage cleanup
 Reconstruction
Free visual inspection and a written scope of work before any mitigation begins - photos, moisture readings, and drying logs go in your claim file
The scope we write is the scope we bill. Anything new gets shown to you, in writing, before we touch it.
Get your free estimateSeasonal Damage Restoration Care for San Antonio: Year-Round Homeowner’s Guide
San Antonio averages 220 days above 90°F every year. That means your air conditioner’s condensate drain line is working ten months out of twelve, and a $12 clog in that thin PVC pipe causes more ceiling water damage in this city than frozen pipes, roof leaks, and burst water heaters combined. Most seasonal home maintenance guides are written for Minnesota or Ohio, where seasons mean snow tires and leaf gutters. Our Complete Guide to Damage Restoration in San Antonio covers the full picture, but this seasonal checklist is different. It maps San Antonio’s actual risk windows: the brutal summer, the narrow fall transition, the unpredictable winter, and the spring bake that moves clay soil under your foundation. By the end, you’ll know exactly what to check, when to check it, and what it costs to fix before the damage spreads.
Restoration work we handle
Quick Answer
San Antonio’s seasonal damage risks follow a specific calendar: AC condensate overflow from May through October, roof penetration failures in October and November before winter rain, pipe freezes during December and February cold snaps, and foundation movement from March through May as clay soil dries and shifts. The most effective year-round protection is a seasonal inspection routine: clear your AC drain line every spring, inspect roof penetrations every fall, insulate exposed pipes before the first freeze, and check drainage slope around your foundation before summer heat bakes the soil. For active water damage, calling a restoration company within the first 24 hours prevents mold growth that starts within 48 hours.
Table of Contents
- Summer (May-October): AC Condensate Overflow, San Antonio’s Leading Ceiling Killer
- Fall Transition (October-November): The Narrow Roof Inspection Window
- Winter (December-February): Pipe Freeze Prep for Pier-and-Beam Homes
- Spring (March-May): Foundation Drainage Before the Clay Soil Bakes
- Year-Round: Hard Water and Water Heater Anode Rod Depletion
- Your Seasonal Inspection Calendar: A Month-by-Month Checklist
- Common Mistakes to Avoid
- When to Call a Professional
- Frequently Asked Questions
- The Bottom Line
Summer (May-October): AC Condensate Overflow, San Antonio’s Leading Ceiling Killer
We’ll say it plainly: if you own a home in San Antonio long enough, you will eventually deal with water damage from an AC condensate drain. It’s not a question of if. The physics are simple. Your air conditioner pulls humidity out of the indoor air as it cools. That moisture collects in a drain pan and flows through a 3/4-inch PVC pipe to the outside or into a plumbing drain. Algae, dust, and San Antonio’s mineral-heavy water combine inside that pipe, forming a sludge that blocks the line. When the line clogs, the drain pan fills up and overflows, usually inside a closet, above a hallway, or through a ceiling below an attic unit.
Here’s what most homeowners don’t realize: the clog usually builds for months before the overflow happens. The first sign is often a small water stain on the ceiling below the air handler, or a musty smell near the indoor unit. By the time you see the stain, the pan has already been overflowing, which means insulation, drywall, and possibly subflooring have been wet for days. Mold growth starts within 48 hours of sustained moisture. In San Antonio’s humidity, that timeline shortens.
What to do every spring, before the first 90°F day:
- Locate your indoor air handler. In most San Antonio homes, it’s in an attic, a hallway closet, or a garage utility room.
- Find the condensate drain line. It’s the PVC pipe coming off the air handler, usually white and about the width of a garden hose.
- Check the drain pan for standing water with a flashlight. If it’s wet, the line is already partially clogged.
- Pour 1 cup of distilled white vinegar into the drain line’s access point (usually a T-shaped fitting or a small cap near the unit). Vinegar dissolves mineral buildup better than bleach and won’t damage PVC.
- Repeat monthly through October. San Antonio’s cooling season is long enough that one vinegar flush in March won’t last until November.
The better permanent fix is a float switch, also called a safety switch or condensate overflow switch. It’s a small device installed inline on the drain pipe or in the drain pan that automatically shuts off the air conditioner when water backs up. Float switches cost $150 to $400 installed in San Antonio, depending on the access difficulty of the air handler. That’s cheap compared to ceiling repair, which typically runs $800 to $1,800 for a dried-out, patched, and repainted ceiling, and far cheaper than Water Damage Repair in San Antonio after saturation reaches structural materials.
If your overflow already happened, speed matters. Shut the AC off at the thermostat to stop the water source, contain what you can with towels and buckets, and call a restoration company. The water in that drain pan is condensation, not sewage, but it carries algae and bacteria from a warm, dark pipe. Professional-grade drying uses psychrometric drying, which tracks the air’s moisture level so technicians know when the space is truly dry, not just surface-dry, and prevents the hidden pockets of moisture that later become mold.
Fall Transition (October-November): The Narrow Roof Inspection Window
San Antonio doesn’t get a real autumn. What it gets is a narrowing gap between the last 95°F day and the first winter rain event, usually four to six weeks between mid-October and late November. That window is the only practical time to inspect your roof before water gets a reason to find its way in. And San Antonio’s roof inventory is heavily weighted toward low-slope and flat-roof sections, especially on mid-century ranch homes, 1970s and 1980s builds, and the pier-and-beam houses scattered through Alamo Heights, Terrell Hills, and the older pockets of Leon Valley. Flat and low-slope roofs don’t shed water the way steep gables do. Water pools, sits, and finds any penetration.
Here’s the walkthrough, in order:
- Check roof penetrations first. Every pipe boot, vent cap, exhaust fan housing, and HVAC curb is a hole in the roof with a seal around it. The seal is almost always neoprene or butyl caulk, and San Antonio’s UV exposure breaks both down in three to five years. Cracked caulk around a vent pipe is the single most common roof leak we see in this city, and it’s a $15 fix if caught before rain.
- Look at the flashing. Chimneys, skylights, and any wall-to-roof junction should have metal flashing with a visible seal. If the flashing is lifting, rusted, or patched with old roofing tar, it needs attention now.
- Clear debris from roof drains and scuppers on flat sections. An oak leaf in a scupper during a November rain event can dam enough water to back up under the roofing membrane.
- Walk the interior ceiling line. In the weeks after the first heavy rain, check ceilings in the corners of rooms, around ceiling fans, and along the top of exterior walls. A fresh water stain in late November is your roof telling you something passed the test.
What happens if you skip this and a winter rain gets in? Water travels. A roof penetration leak at the ridge can show up as a stain on a baseboard two rooms away, meaning the water ran down a truss, across a top plate, and soaked insulation along the way. Professional water damage restoration in this scenario is not just ceiling repair; it’s often insulation removal, structural drying, and antimicrobial treatment. The cost multiplies with every week the leak goes unnoticed.
We recommend this roof check every October, timed around when you’re already up there cleaning gutters. If you’re not comfortable on a ladder or your roof is steep, hire it out. Most handymen and roofers in San Antonio will do a penetration inspection for $100 to $200. That’s the cheapest insurance policy in this guide.
Winter (December-February): Pipe Freeze Prep for Pier-and-Beam Homes
San Antonio freezes, just not predictably. The averages say a hard freeze hits once or twice every few winters, but the data behind “average” hides the real story: freeze events cluster. The February 2021 freeze brought single-digit wind chills and left tens of thousands of San Antonio homes with burst pipes. The exact same week in 2023 was 75°F. You cannot plan around a forecast; you plan for the possibility.
Here’s what actually matters for pipe freeze prevention in this city’s housing stock. San Antonio has a large inventory of pier-and-beam homes, especially in older central neighborhoods like Mahncke Park, Monte Vista, and parts of Beacon Hill. These homes have crawl spaces underneath, which means water supply lines run through uninsulated space exposed to whatever the outside air is doing. When the crawl space drops below 28°F, pipes freeze. Here’s the statistical truth: the pipes that burst are almost always the ones running along the exterior perimeter of the crawl space, the ones on the north side of the house, and the ones feeding outdoor hose bibs that were never drained.
Your freeze prep checklist, in priority order:
- Disconnect and drain all garden hoses before the first forecast freeze. A hose connected to a bib prevents water from draining back out of the pipe. When the trapped water freezes, it splits the pipe inside the wall.
- Wrap or insulate any pipes visible in the crawl space, attic, or garage. Foam pipe insulation sleeves cost about $2 per six-foot section at any San Antonio hardware store. Focus on the north and east sides of the house, where shade keeps surfaces colder.
- Drip an interior faucet on the farthest fixture from the water main when a hard freeze is forecast. A slow drip, one drop every two to three seconds, keeps water moving and relieves pressure. It’s wasteful, but it’s $4 worth of water versus a $3,000 pipe repair.
- Open cabinet doors under sinks on exterior walls during a freeze so warmer interior air reaches the pipes.
- Know where your main water shutoff is before you need it. In a pier-and-beam home, the main valve is often at ground level on the front exterior wall or in an access well near the street. Test it once a year. In a freeze emergency, the ability to shut off water in 60 seconds is the difference between a failed pipe and a flooded house.
One local factor most national guides miss: pool equipment. San Antonio has one of the highest per-capita pool ownership rates in the country. Pool pumps, filters, and above-ground plumbing connections are fully exposed and freeze quickly. If you have a pool, know that your pump has a freeze protection setting that runs the pump automatically when the air temperature drops near freezing. Test that setting in December, before the first cold front. A frozen pool pump assembly is not a water damage issue, but a cracked pool line underground is, and that fix starts around $1,500 and involves excavation.
If a pipe does burst, the immediate action is shut the water off at the main, open the lowest faucet in the house to drain the system, kill the power at the breaker box if water is near any outlet or electrical line, and call for Water Damage Restoration in San Antonio. Do not attempt to dry out a saturated crawl space with box fans. You need professional extraction, drying equipment, and moisture mapping, because water in a dark crawl space under a pier-and-beam home will saturate floor joists and grow mold within days.
Spring (March-May): Foundation Drainage Before the Clay Soil Bakes
San Antonio sits on expansive clay soil. If you’ve lived here more than a year, you’ve heard a foundation repair company say those words. Here’s what they actually mean for water damage: the soil under your foundation shrinks when it dries and swells when it wets. The dangerous movement happens when the soil around your foundation dries unevenly, usually on the sun-exposed south and west sides of the house while the shaded north side stays moist. That differential movement does more than crack door frames. It shifts the foundation enough to crack pipes under the slab and pull apart drain waste and vent lines, and once a pipe under the slab leaks, you’re looking at one of the most expensive water damage scenarios a San Antonio homeowner can face.
The spring window, March through May, is when you can prevent most of this. The soil is still carrying some moisture from winter rain, and before the 100°F days arrive, you can inspect drainage slope and make corrections while the ground is workable.
What to check every spring:
- Soil-to-foundation contact. You want the dirt around the foundation to slope away from the slab at least 6 inches over the first 10 feet. If it slopes toward the house, water pools at the foundation line and causes the soil to swell unevenly against the slab.
- Gutter downspout discharge. Every downspout should carry water at least 5 feet away from the foundation. Most are set to dump right at the corner of the house. A $10 downspout extension from a San Antonio hardware store is the cheapest foundation protection you’ll ever buy.
- Concrete flatwork cracks. Cracks in driveways, walkways, or patios that run toward the house channel rainwater directly to the foundation. Fill them with concrete caulk or sealant in the spring, before April rain starts.
- Visible foundation cracks. Hairline cracks (1/16 inch or smaller) are often cosmetic. Cracks wider than 1/8 inch, stair-step cracks in brick, or cracks that appear to have opened recently warrant a professional evaluation.
The connection to water damage restoration is direct and specific. Uneven soil movement stresses the cast iron and PVC drain line under a slab foundation. The pipe separates at a joint, and suddenly every shower, toilet flush, and laundry cycle leaks water under the house. It’s a slow leak no one notices until the water bill spikes, floors feel warm in one spot, or a musty odor comes through baseboards. By the time it’s found, the leak has been running for weeks or months. That’s when Water Damage Restoration in San Antonio moves from a cleanup project to a structural drying and mold remediation project. Spring drainage correction is cheap prevention. The alternative is not.
Year-Round: Hard Water and Water Heater Anode Rod Depletion
San Antonio’s municipal water is hard, meaning it carries high levels of dissolved calcium and magnesium. In most of the city, water hardness tests land between 15 and 20 grains per gallon, which is classified as “very hard.” What that does to a residential water heater is slow but relentless: the minerals accelerate the consumption of the anode rod, the sacrificial metal rod inside the tank that corrodes instead of the steel tank. When the anode rod is gone, the tank walls start corroding in as little as four to six years in San Antonio’s water, depending on the tank’s construction and the water temperature setting. A corroded tank eventually leaks, and when a 40- or 50-gallon water heater lets go in an attic, a garage, or a closet, it releases all of its contents into the surrounding structure.
This is a year-round issue because the water chemistry doesn’t change with the season. What changes is the temperature setting. Higher thermostat settings in winter accelerate the chemical reaction. The anode rod on a water heater set to 140°F in San Antonio’s hard water can deplete in three years. The same tank set to 120°F might get five to six years.
What to do:
- Check the anode rod every two to three years. If the rod has visibly eroded to bare wire or is coated in a thick crust of mineral scale, it needs replacement. The anode rod is a $20-$40 part, and replacing it is a 30-minute job for a plumber or a capable DIYer.
- Flush the tank annually. Sediment from hard water settles at the bottom of the tank, creating a layer that insulates the burner from the water, causes overheating, and accelerates tank wear. Drain a few gallons from the tank’s drain valve until the water runs clear.
- Listen for popping or rumbling sounds from the water heater. That sound is sediment superheating against the burner, and it’s the last warning before tank failure.
- Consider a water softener if your hardness is above 15 grains per gallon. A softener adds years to every water-using appliance in the house, not just the water heater.
The failure mode that matters here is the location of the water heater. In many San Antonio homes, the water heater lives in the attic, which means a tank failure sends water through the ceiling and into the living space below before anyone notices. When that happens, the response is immediate water extraction, structural drying, and antimicrobial treatment to prevent mold. The full restoration on an attic water heater failure typically starts around $2,500 and climbs depending on how long the water sat before it was discovered.
Your Seasonal Inspection Calendar: A Month-by-Month Checklist
Here’s the full year in one place. This is our Water Damage Restoration Maintenance Checklist for San Antonio Homeowners-the same checklist we give every homeowner who asks us “what should I be doing to avoid seeing you?” Each item is keyed to the risk windows detailed in the sections above.
January
- Test the freeze protection setting on your pool pump before the first hard freeze forecast.
- Open cabinet doors under sink fixtures on exterior walls during any freeze warning.
- Drip a faucet on the farthest fixture from the main during a hard freeze.
February
- Check ceilings for water stains after January rains; catch roof leaks before spring storms.
- Inspect the crawl space under a pier-and-beam home for wet spots along the perimeter.
March
- Begin the AC condensate drain line maintenance: locate the line, check the drain pan, pour vinegar through the access point.
- Flush the water heater and inspect the anode rod.
April
- Inspect foundation drainage: slope away from the slab, downspout extensions in place, concrete cracks filled.
- Clear roof debris from scuppers and drains on flat or low-slope roof sections.
May
- First AC condensate line vinegar flush of the cooling season when AC kicks on full time.
- Check the drain pan for standing water after the first week of heavy AC use.
- Walk the exterior walls for visible foundation cracks, especially on south and west exposures.
June
- Repeat the AC condensate line vinegar flush.
- Check attic insulation for any signs of moisture from roof penetrations.
July
- Repeat the AC condensate line vinegar flush.
- Listen for popping sounds at the water heater; sediment buildup worsens in hard water through the summer.
August
- Repeat the AC condensate line vinegar flush.
- Inspect the drain pan and the safety float switch if installed.
September
- Repeat the AC condensate line vinegar flush.
- Start watching the forecast for the fall transition; begin planning the October roof inspection.
October
- Full roof penetration inspection: pipe boots, vent caps, flashing, caulk seals.
- Clean gutters and downspouts, especially if you have oaks or pecans overhanging the roofline.
- Disconnect and drain garden hoses.
November
- Insulate exposed pipes in the crawl space, attic, and exterior walls.
- Test the main water shutoff valve.
- Verify pool freeze protection is operational.
December
- Check all cabinets under sinks on exterior walls; confirm they can be opened quickly during a freeze.
- Review the freeze prep checklist with everyone in the household: where the main shutoff is, which faucet to drip, where the breaker box is.
Common Mistakes to Avoid
- Bleaching a clogged AC drain line instead of using vinegar. Bleach generates heat and fumes and can crack PVC, and it doesn’t dissolve mineral scale. Vinegar does. Use white vinegar, monthly, through the cooling season.
- Believing San Antonio doesn’t get cold enough for frozen pipes. The city’s freeze history says otherwise. February 2021 is the proof, but even a standard 28°F night can freeze unprotected pipes in an uninsulated crawl space or north-facing exterior wall.
- Checking the roof in November after the first big rain. The whole point of the fall roof inspection is to catch failed seals before water finds them. If you wait until a stain appears on the ceiling, the leak has already been active.
- Running the AC with the condensate drain pan already full. If you hear water dripping in the air handler closet or see a wet spot under the unit, shut the AC off and address it. Running it just adds water to a pan that cannot drain.
- Ignoring a musty crawl space smell. In a pier-and-beam home, that smell means moisture is present somewhere, which means mold is either active or imminent. Crawl space mold from a slow leak or condensation spreads upward into the subfloor and living space.
- Placing the water heater maintenance on a “when I get to it” list. Hard water in San Antonio gives a water heater about five to seven years of service before tank failure risk spikes. The anode rod check is the difference between a $60 maintenance item and a full restoration bill.
When to Call a Professional
Most of the prevention steps in this guide are doable for a capable homeowner with basic tools and a weekend afternoon. But there are clear lines where the right call is a restoration company, not a DIY project. If water is actively flowing into your home from any source, shut off the water or the AC and call immediately. If water has been standing for more than 24 hours, mold growth is underway, and professional drying and antimicrobial treatment are required. If a ceiling is sagging, bulging, or discolored, the drywall is saturated and may collapse. If a crawl space has standing water or visible mold on joists, the structural framing is absorbing moisture. If an AC overflow has stained a ceiling below the unit, the water has traveled through insulation and likely into wall cavities. In any of these scenarios, Wendell Restoration San Antonio offers free estimates in San Antonio, call (325) 413-9949, and we’re at your door with a written price before any work starts.
Frequently Asked Questions
For a detailed breakdown, see our Damage Restoration Cost Breakdown: The San Antonio Homeowner’s Reference for 2026. In short, water damage restoration in San Antonio typically runs $1,200 to $4,500 for a contained, single-room event like an AC overflow or a water heater leak, while larger events involving multiple rooms, structural drying, and mold remediation can run $5,000 to $15,000 or more, depending on the extent of saturation. The biggest cost variables are how long the water sat before extraction began, whether the water reached porous materials like insulation and drywall, and whether mold remediation became necessary. Every Wendell job gets a written price before any work starts, and the number in writing is the number you pay. Call (325) 413-9949 for an exact quote.
The limiting factor is not the company, it’s the water. Mold starts within 48 hours, but every hour before extraction begins adds to the saturation depth and the final repair bill. Wendell Restoration San Antonio answers the phone with a live person 24/7, not a voicemail or callback queue, and we give you a live arrival time you can track, not a vague four-hour window. In most San Antonio situations, we’re on-site the same day the call comes in.
Most homeowners insurance policies cover sudden and accidental water damage, like a burst pipe or a water heater failure, while gradual leaks and maintenance issues like a long-running AC overflow are often excluded unless the policy includes an endorsement. The distinction that matters most is documentation: insurance adjusters process claims faster when the damage is photo-documented from the moment of discovery. Wendell provides before-and-after photo updates by text on every job, and we work directly with your adjuster to make sure the claim reflects exactly what happened, not what someone guessed happened.
Monthly from May through October. San Antonio’s cooling season runs roughly 180 to 220 days, which means the drain line is handling condensation for at least six full months. A monthly cup of white vinegar poured through the line’s access point keeps the pipe clear of the algae and mineral sludge that causes overflows. If your home has pets, construction nearby, or the air handler is in a garage, you may need to flush more often because dust and pet hair accelerate clog formation.
Yes, and the reason is exposure. Pier-and-beam homes have water supply lines running through an uninsulated crawl space, which is open to outside air and gets much colder than a slab, where pipes run through and below a thick concrete mass that holds heat. The most vulnerable pipes in a pier-and-beam home are the ones along the north and east perimeter of the crawl space, the ones where the sun never reaches the ground to warm the space. Foam insulation sleeves and a faucet drip during hard freezes are the two most effective protections.
Not always, but the window is narrow. If water is extracted within 24 to 48 hours and the affected space is professionally dried to the correct moisture level, mold growth can usually be avoided. If water has been present for more than 48 hours, if porous materials like drywall and insulation were saturated, or if you can already smell a musty odor, mold remediation is the safe path. IICRC protocol, which stands for the Institute of Inspection, Cleaning and Restoration Certification, sets the industry standard for drying to a level that prevents mold, and it’s the standard Mold Remediation in San Antonio follows on every job. Call (325) 413-9949 to discuss your specific situation.
The Bottom Line
San Antonio’s damage risks follow a calendar, and if you follow the calendar, most of them never escalate past the inspection stage. AC condensate lines in the summer, roof penetrations in the fall, pipes in the winter, foundation drainage in the spring, and the water heater all year long. The theme is the same every month: catch it early, pay a little, and move on. Miss the window, and the cost multiplies. When the inspection fails and water is already where it shouldn’t be, speed and documentation matter more than anything else. That’s the job: a live person answering the phone, a written price before any work starts, and before-and-after photo updates by text so you know exactly what was done. For more guides & resources, or for water damage, mold, or repair questions in San Antonio, call (325) 413-9949.
Written by Blake Sorensen, Owner at Wendell Restoration San Antonio, serving San Antonio since 2006.
See the difference
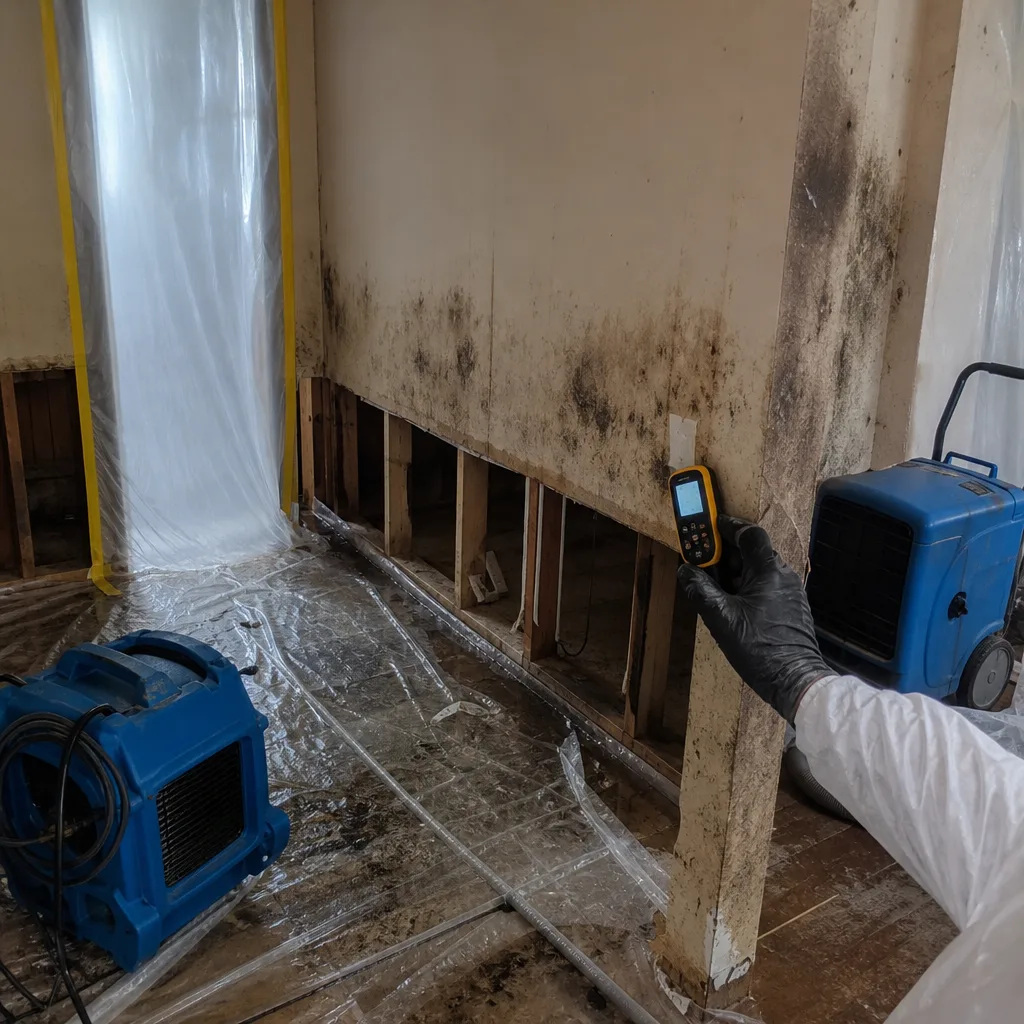 Before
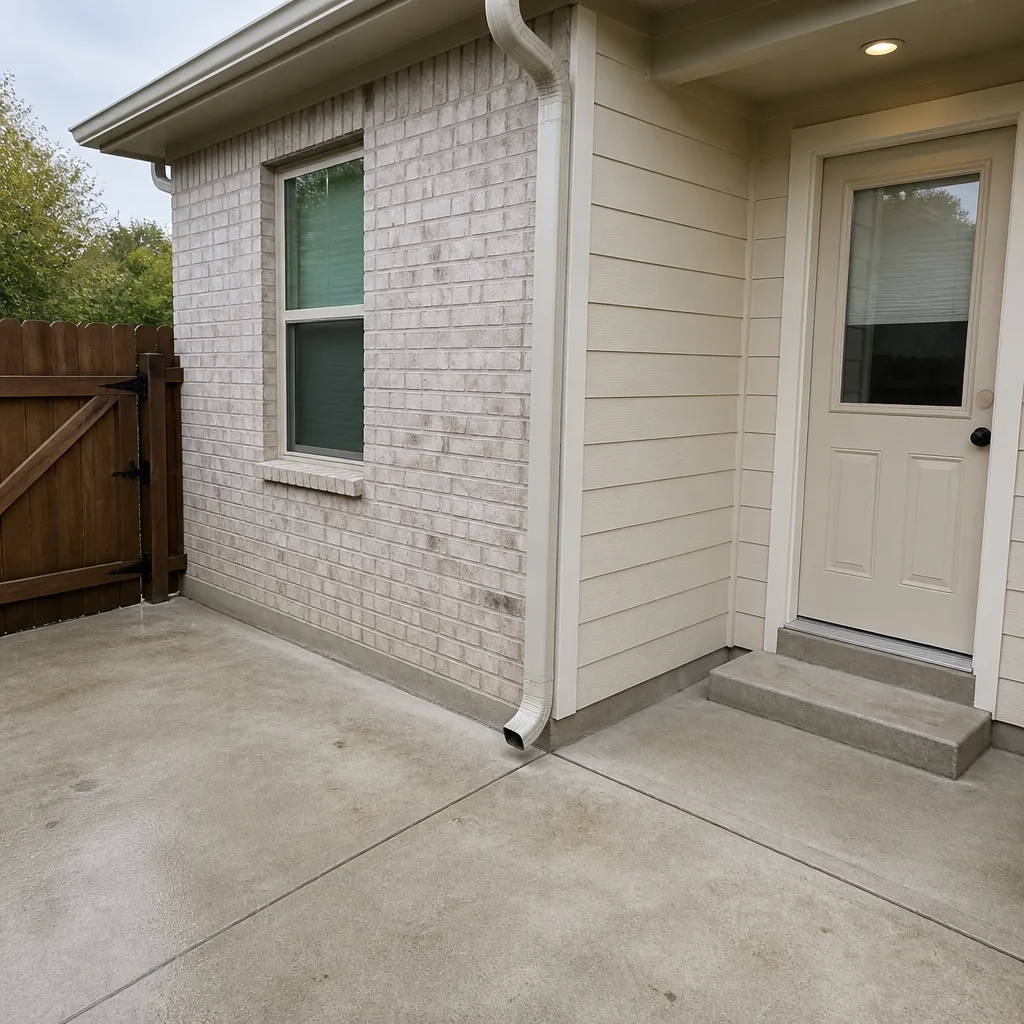 After
After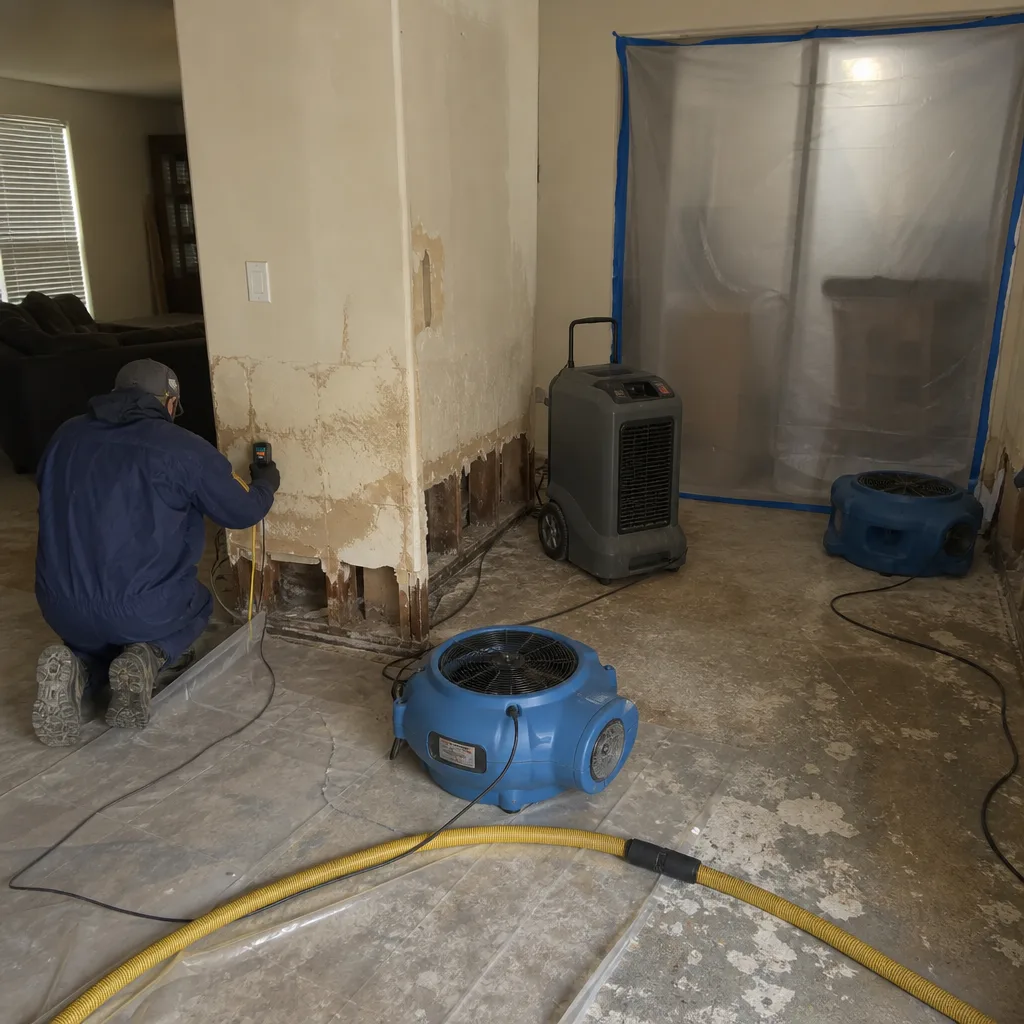 Before
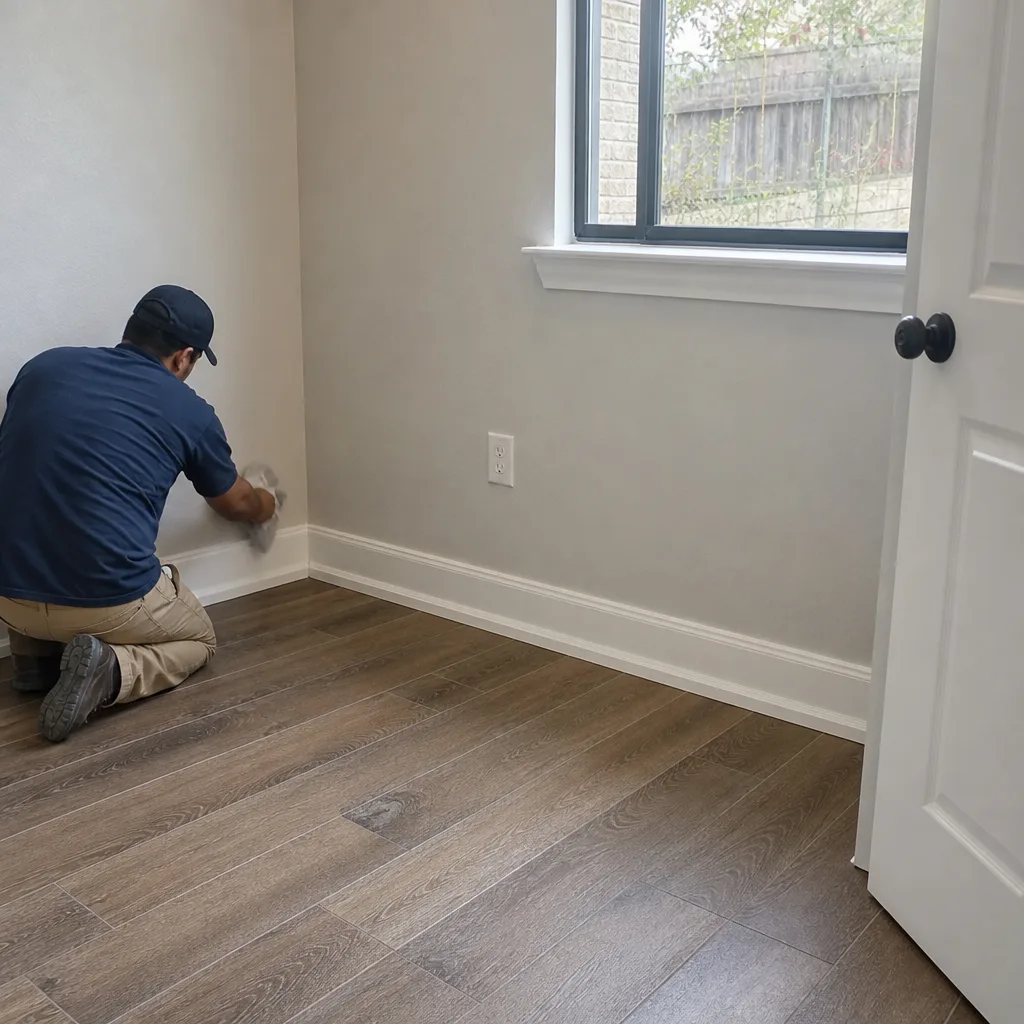 After
After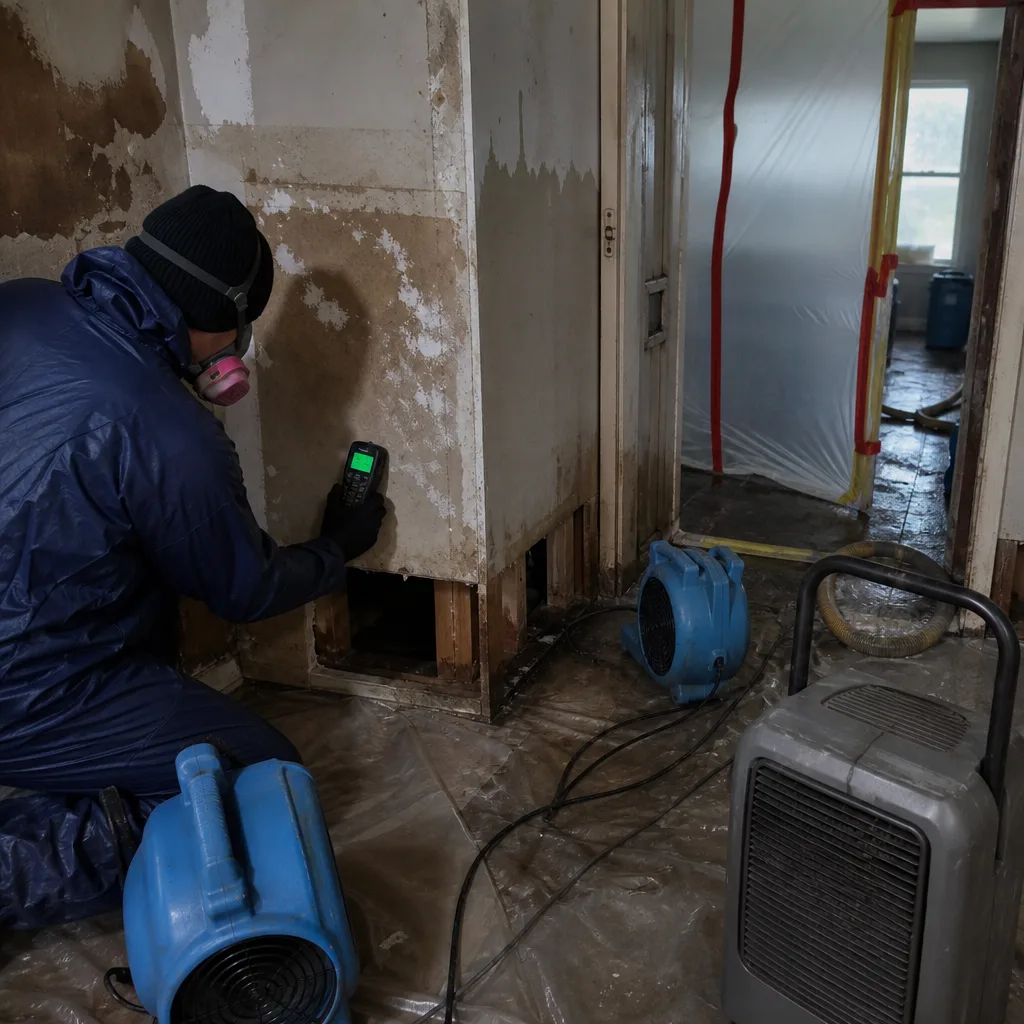 Before
 After
After